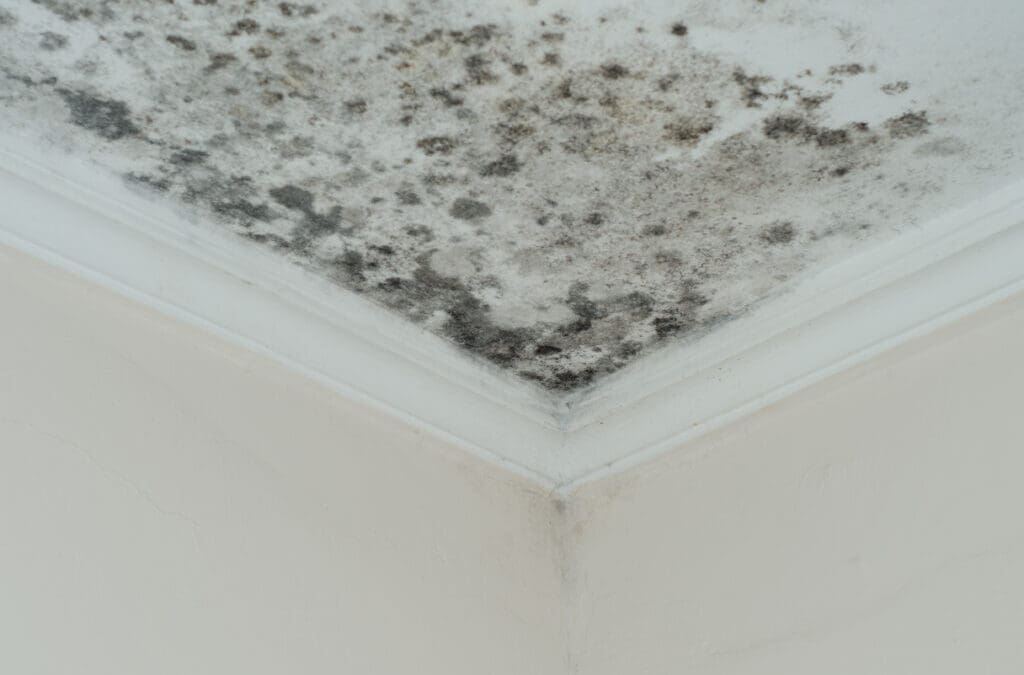
To remove mould from walls and ceilings it is always best to avoid the use of chlorine bleach due to the possibility of damaging adjoining surfaces and it’s toxicity. The ideal solution is a professionally formulated hydrogen peroxide-based mould remover, which provides proven mould kill rates and mould stain removal.
Debunking mould myths.
The effectiveness of chemical solutions to kill and remove mould remains a topic of debate, with limited research compared to that on bacteria and viruses. Actichem has dedicated resources to rigorously test various chemical solutions’ ability to eliminate mould, partnering with two NATA-accredited laboratories for comprehensive testing.
Gain an understanding of how to completely erradicate mould in our webinar recording, ‘Where Science Meets Mould’. This session sheds light on crucial aspects of mould elimination, including performance testing of mouldicides and insightful data from accredited laboratory tests giving you the knowledge to ensure no mould is left untouched.
Equipment

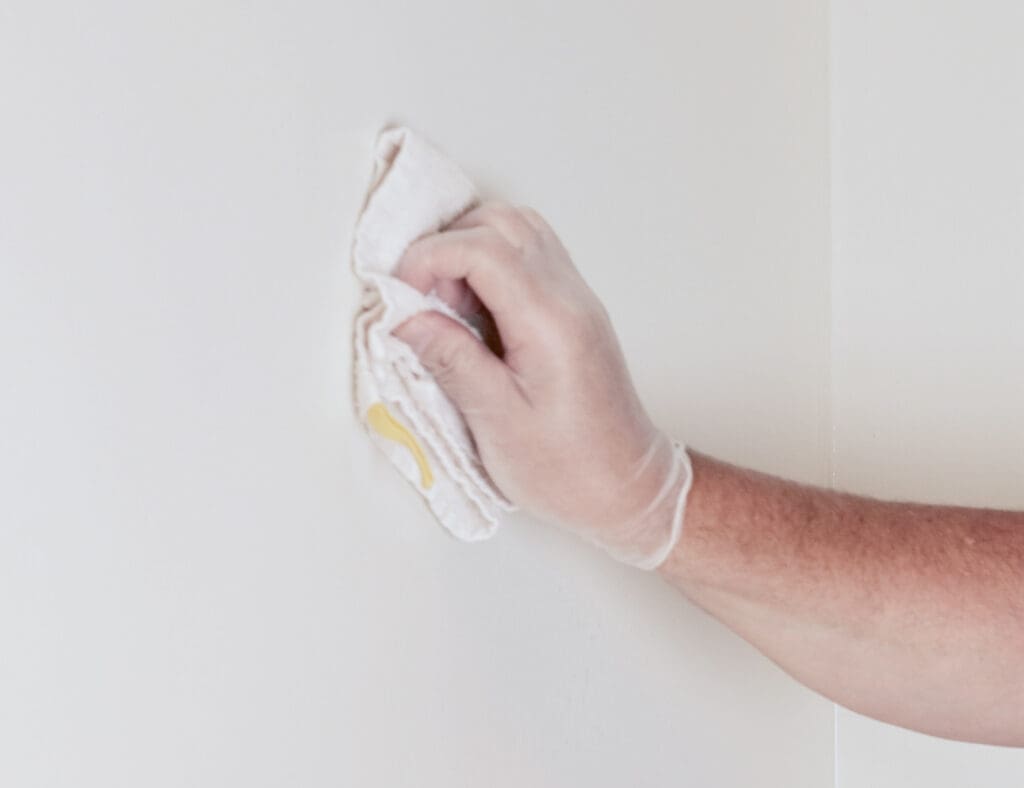
- White Terry Towel – By using a white towel, no other pigment will bleed onto the plasterboard.
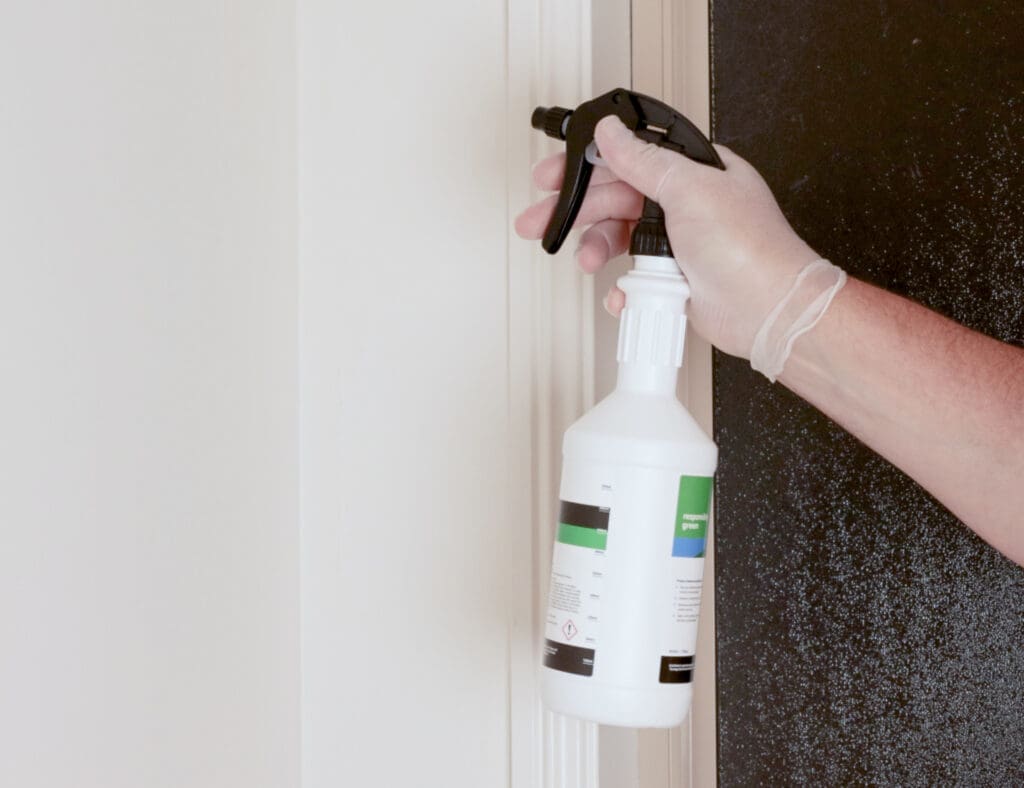
- Mould Remover Chemical – For mould on internal plasterboard, a potentiated Hydrogen Peroxide blend is preferred. The Actichem RG Mould Remover is an ideal choice for DIY & homeowners plus those requiring a certified eco-label choice. The Percide is the product of choice for professional restoration contractors.
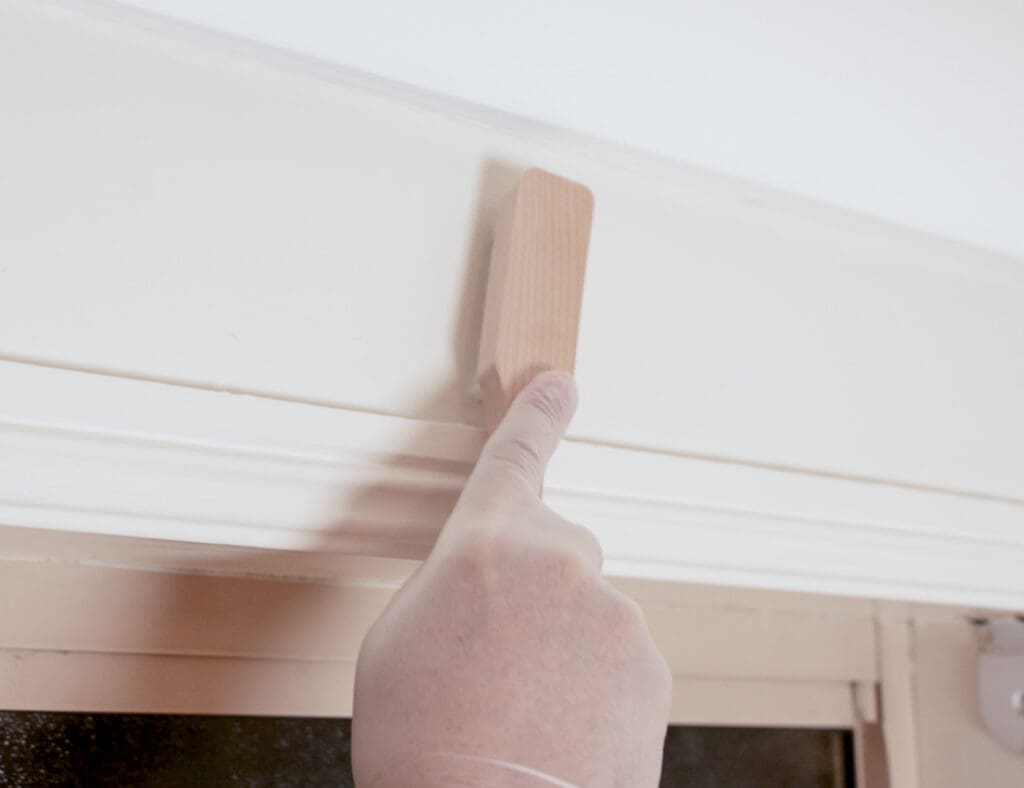
- Brush – By agitating the surface it will ensure the solution comes in contact will all of the affected areas.
- PPE – All the necessary PPE needs to be use as hydrogen peroxide is a hazardous chemical.
The Process
1. Apply Mould Remover
2. Agitate

3. Dwell for 10 Minutes
4. Rinse
5. Finish off Right
- Apply Solution – Firstly, we need to apply the solution, in this case RG Mould Remover, to the affected area. You will see the Mould Remover begin to fizz where there is mould. This is the hydrogen peroxide reacting with the organic mould matter. It is an excellent visual aid to indicate where mould is present, as mould isn’t always visible to the eye.
- Agitation – Now agitate the affected area with the scrubbing brush. This will ensure the solution contacts and penetrates all of the mould mass. Although some areas are unable to be reached, where possible agitation will make a big difference.
- Dwell – Leave the Mould Remover to dwell for at least 10 minutes. Dwell time is very important to ensure success. It will allow the solution to fully reach and eradicate the mould hyphae and spores.
- Rinse – Wipe down the area with a clean cloth, until the cloth comes up clean. Do not use water to rinse any surfaces as extra moisture will promote new mould growth. The residual moisture of the Mould Remover is designed to be safe for substrates, humans and pets.
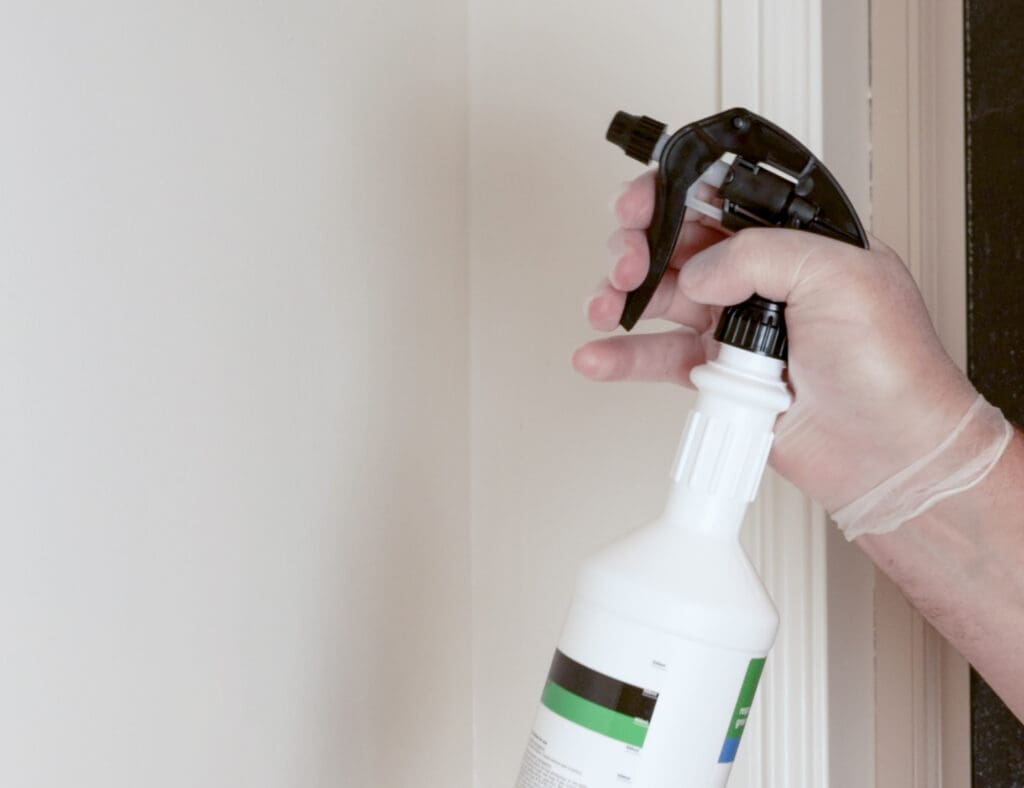
- Finish off right – Finish off the job by lightly applying Mould Remover to the affected area and wiping away excess moisture. This ensures that what remains on the surface is fresh Mould Remover. This will guarantee a complete kill and retard future mould growth.
Tips
- A good to know fact
RG Mould Remover is also a powerful TGA listed Hospital Grade Disinfectant sold under the name Percide IC. Kills a wide range of bacteria, fungi and viruses including COVID-19 in just 60 seconds. - High mould infestation
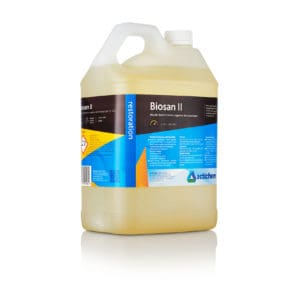
Repeat this process for areas with particularly high mould infestation. Additional dwell time & agitation may be required for stubborn mould staining. - Biosan II Wipes
Biosan II wipes are excellent for removal of mould from smooth surfaces, such as venetian blinds, windowsills etc.